There are 10 images on this page
John`s words of wisdom.
READ THIS WHILE THE PICTURES ARE LOADING
A few welding tips.
When welding ensure that the metal is clean ( that is shiny, I normally
sand the area then scotch brite it.), the gap between the pieces not too large
and you can see what you are doing. (Clean mask and good light.) It also helps
a great deal if your hands are supported so you are not trying to weld in
mid air. I like to have support under my wrists. I also hold my breath when
TIG welding as I find the breathing can upset my poise. I often spend a considerable
time setting up the work or hand rests if I am welding on the chassis. My
welding mask is self darkening when you start welding. This is really worth
the money for TIG welding.
With MIG welding the common problems are not enough penetration, burning through,
or going off course. All these can be avoided by doing short runs ( 10 to
15mm ) on quite a high setting. Alternate the position of the runs and you
will also minimise distortion.
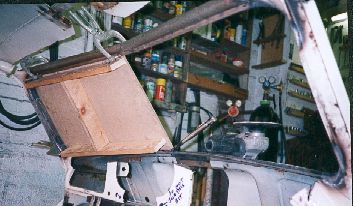
Robin fabricated a new
top surround for the windscreen from
flat sheet steel. This was rolled around a piece of tube in the
vice with a hammer. When bending with a hammer you must
work the metal a little at a time or stretching will occur.
-------------------------------------------------------------
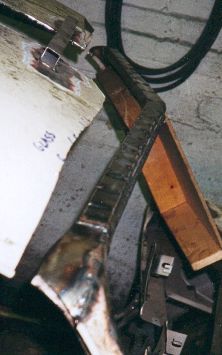
The new windscreen surround
from the inside. The piece of
wood is used to replicate a pane of glass and ensure the new
lip is flat and in line with all the other new lips.
------------------------------------------------------------
The new top surround
is capped off with a flat piece of sheet.
Robin welded a 5mm piece of plate under the capping sheet,
this could be tapped later to hold the hood frame pegs in
position.
------------------------------------------------------------
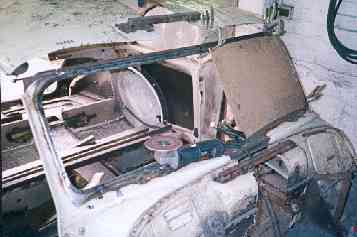
A general view of the
new surround, showing how the roof is
cut away. This will be cut off later but is retained at present to
give reference when making the new surround.
------------------------------------------------------------
The wind screen surround
finished. Robin has sprayed the
work in some old paint to make the job look neat and to
prevent rust.
------------------------------------------------------------
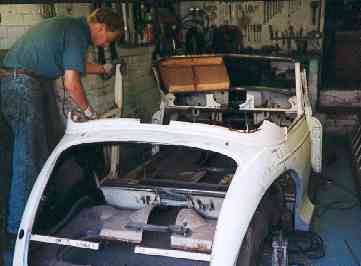
Now all the body modifications
are done Robin removed the
roof. He has done many convertible conversions on Minors
so he knows where to cut.
-------------------------------------------------------------

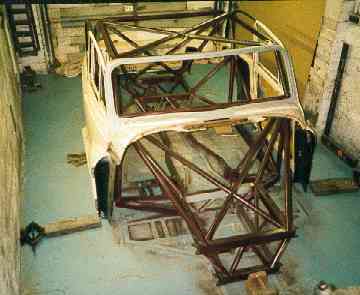
The floor was cut away
from the rest of the body and
discarded. As I am building a new chassis the original Minor
floor is not required. Cutting out the floor was quite simple as
most of it was separate due to the new panels that had been
put in. Also I could cut the floor down the middle and move
the two halves towards each other away from the body sides.
------------------------------------------------------------
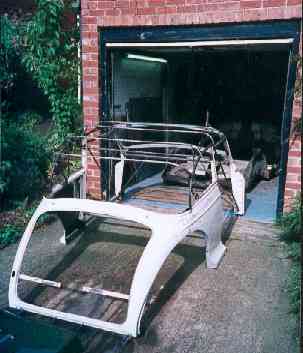
The body shell that is
left after all the floor is cut out. Not
much of the body remains but it is all that I require.
-----------------------------------------------------------
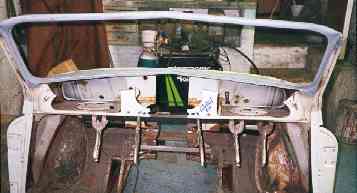
The body had to be attached
to the chassis with consideration
given to where the major forces are going to be on the body.
The door pillars will have to be the strongest and in every
direction, up down, side to side etc.
------------------------------------------------------------
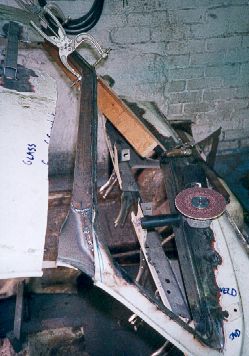
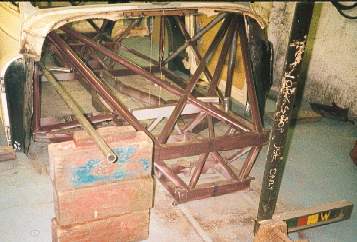
The mounting method decided
upon for the front consisted of
four tubes welded to the chassis pointing forward and the
body mounts slot into them. This picture shows the method
used to ensure each tube is in line with the others. The long
tube makes it easier to ensure it is level and parallel to the
centre line of the car.
------------------------------------------------------------