There are 9 images on this page
John`s words of wisdom.
READ THIS WHILE THE PICTURES LOAD.
Build the car you want and not what you think other people will like,
unless you are building the car to sell and in that case you will be fortunate
to make money if you charge for all your labour. If you are building to order
with an open cheque book, then lucky you. I have always built what I wanted
and the result has been some unique vehicles. The Reliant Kitten was not an
obvious choice of base vehicle to most people when I started building. But
I looked beyond the name and reputation and saw the potential. The same with
my Lada. Remember that if you follow other people you are always behind them.
Think what is best for you and do not be afraid do something which seems against
conventional thinking. Many people have thought my ideas very strange when
I have been building but when they view the finished article they see how
it all fits together and works. Have confidence in your abilities.
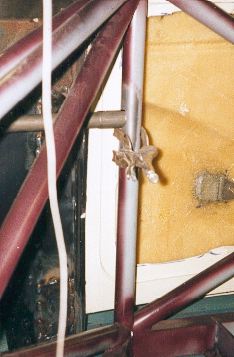
This picture shows the
tube in place prior to welding. The self
grip wrench is there to stop the tube moving down the chassis
upright.
-------------------------------------------------------------
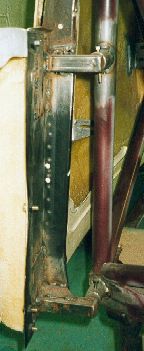
The finished front body
mounts. The front body slides out of
the four tubes (two each side), and is held in place by a bolt in
each tube. This mounting method does not depend on the
fastener for strength and is strong in all directions. Spreader
plates are welded to the door pillar so the box section is not
just welded to thin body work.
------------------------------------------------------------
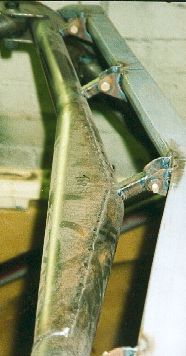

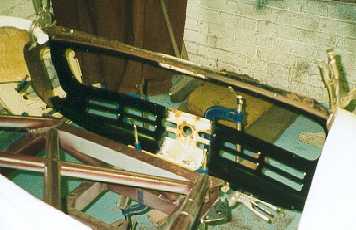
The mounting brackets
for the top of the windscreen surround
and the strengthening
gusset in the chassis bend. The top of the windscreen surround has to support
the windscreen and the front mounting pegs for the hood hence the large number
of small brackets. Consideration also had to be given to the fact that the
body has to slide of forwards so again all the brackets had to be parallel.
--------------------------------------------------------
The standard Morris Minor
doors even when lightened substantially, are very heavy. Fortunately fibreglass
ones are available, however they take a lot of work to get the window frames
in, the hinges on and the handles fitted. I had to bond in brackets to hold
the window frames. The door hinges are aluminium alloy instead of the original
steel items. The door is very light but I feel it could be even lighter in
carbon fibre.
------------------------------------------------------------
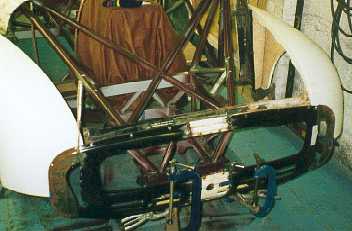
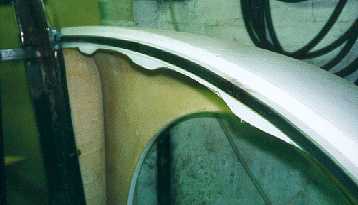
For aerodynamic and weight
reasons I am using lowlight front wings. This means the lights go in the front
panel. The front panel is widened by 178 mm to match the rest of the body.
---------------------------------------------------------
I also have to consider
how the front panel and wings will attach to the chassis, with consideration
given to ease of removal in case of crash damage.
------------------------------------------------------------
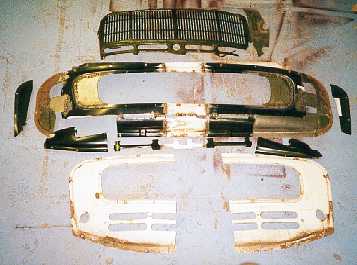
The front panel was made
from 3 panels. Two of them are high light and the other lowlight. The lowlight
one gave the wing mounting flanges.
------------------------------------------------------------
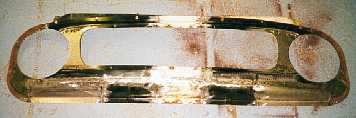
The finished panel. The
grill opening is the standard size and the bottom is raised to give better
ground clearance. A mould will be taken from this and a carbon fibre panel
made.
------------------------------------------------------------
The front wing mounting
is a piece of 1/2" square box section with M5 captives welded in for
bolting the wing on. The bending was done in a home made bender and a vice.
------------------------------------------------------------