There are 10 images on this page.
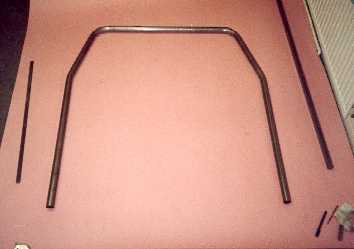
The tube bending was
done by a local firm. They bent the tube to my templates. Here I am checking
that the tube matches the template.
------------------------------------------------------------
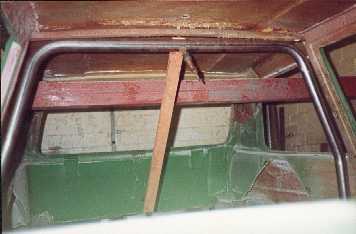
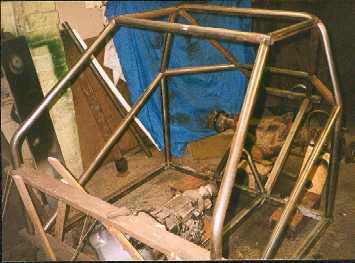
The over head loop is
then transferred to the body, so the rest of the cage can be constructed.
------------------------------------------------------------
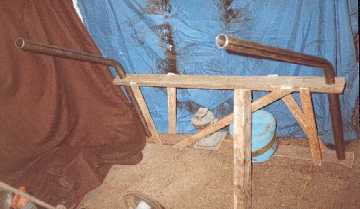
A jig was required to
hold the two front uprights so I could profile the upper ends.
-------------------------------------------------------------
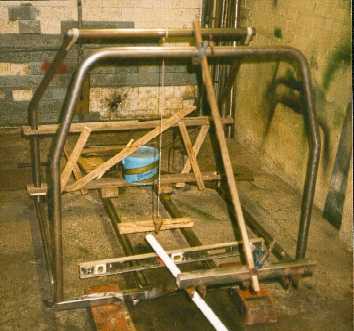
Once the basic out line
of the chassis is complete the body can be removed which improves access to
the tubes. Now it is just a case of fitting tubes in-between the tubes that
already exist.
-------------------------------------------------------------
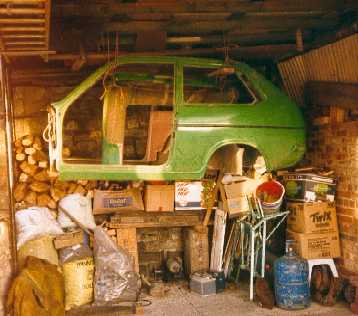
The body was put into
storage while I built the frame.
-------------------------------------------------------------
More tubes are added
such as door bars.
--------------------------------------------------------------
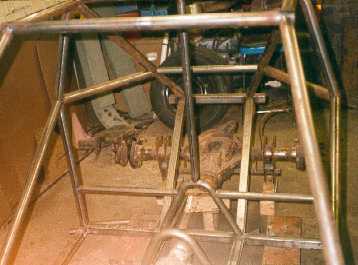
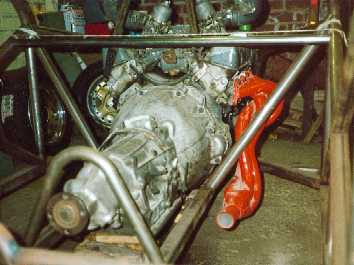
The chassis at the rear.
Even at this stage I am thinking about the suspension mountings, seats etc
and how they will fit in.
-----------------------------------------------------------
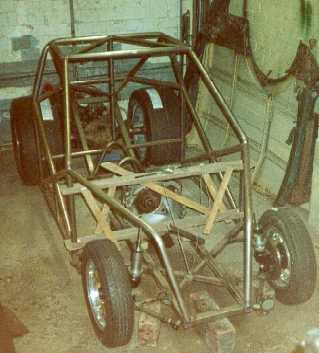
The wheels were mocked
up to see how it would look.
------------------------------------------------------------

The front bulk head taking
shape.
--------------------------------------------------------------
I hired a TIG to weld
up the chassis after I had tacked it with our MIG. I only hired the welder
for a day at a time.
-------------------------------------------------------------