There are 10 images on this page.
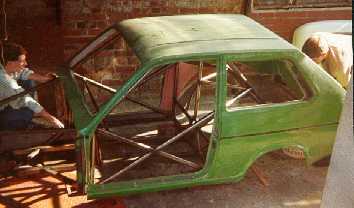
The body was stored in
the car port at the other side of the house to the garage. The chassis had
to come out of the garage so Robin could repair the damage to his telephone
van. I couldn't resist a trail fit of the body onto the chassis.
-------------------------------------------------------------
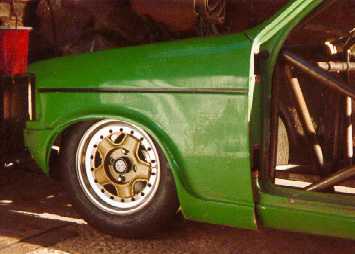
As our garage is very
narrow it is not easy to get a side view of the car, but this is possible
in the car port. The front looks great.
-------------------------------------------------------------
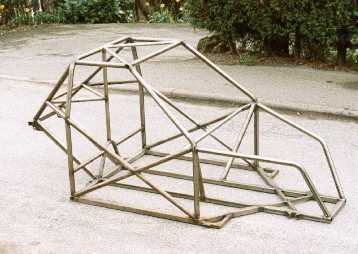
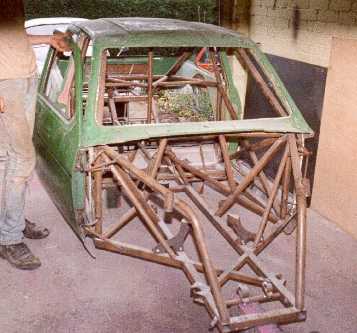
The finished basic structure.
Now all that is required are all the various mounting brackets.
-------------------------------------------------------------
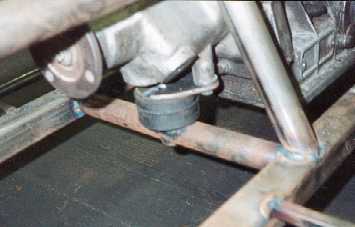
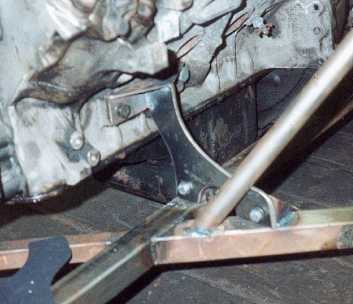
The gearbox mounting.
The rubber is a Ford Cortina engine mounting rubber.
-------------------------------------------------------------
The engine mount. The
engine is mounted solidly to the chassis. This means that the engine can be
used as part of the structure and that tolerances around the engine can be
tighter as the engine will not move.
------------------------------------------------------------
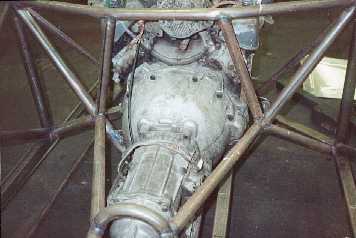
The chassis structure
around the back of the engine and over the gearbox. The gearbox will be attached
to the chassis at the bell housing bolts. This means that the engine loads
will be fed into the strong bulkhead.
-------------------------------------------------------------
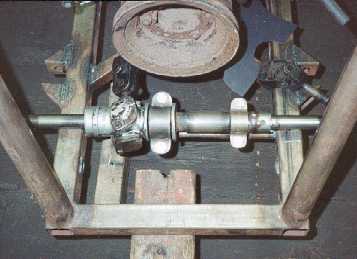
The narrowed Kitten steering
rack in position.
-------------------------------------------------------------
The body was mounted
to the chassis at many points, so the relatively weak fibreglass is well supported.
------------------------------------------------------------
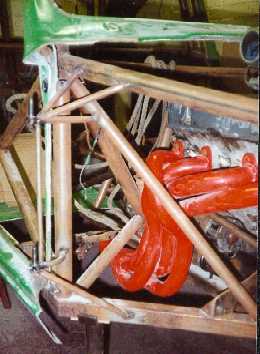

The door hinges and exhaust
manifolds.
-------------------------------------------------------------
I wanted lift off doors
so I made new door hinges to make this possible. Now you open the door and
lift the door off.
-------------------------------------------------------------